這篇主要是介紹怎麼在Docker Swarm Cluster起SLURM Cluster
先提供References:
slurm-in-docker slurm-docker-cluster
首先先部署docker swarm cluster
1 2 3 4 5 6 7 8 9 10 11 12 13 14 15 16 17 18 19 20 21 22 23 24 25 26 27 28 29 30 31 32 33 34 35 36 37 38 39 40 41 42 43 44 45 46 47 48 49 tee -a /etc/hosts << EOF 192.168.1.131 jamalslurm01 192.168.1.132 jamalslurm02 192.168.1.133 jamalslurm03 EOF ssh-keygen -t rsa -b 2048 -f ~/.ssh/id_rsa -q -N "" yum install sshpass -y PASS=`cat password` for host in jamalslurm01 jamalslurm02 jamalslurm03; do ssh-keyscan $host >> ~/.ssh/known_hosts sshpass -p $PASS ssh-copy-id root@$host done for host in jamalslurm02 jamalslurm03; do scp /etc/hosts $host :/etc done yum install -y epel-release yum install -y python-pip pip install pip setuptools --upgrade pip install docker-compose docker swarm init --advertise-addr 192.168.1.131 docker swarm join-token worker docker swarm join-token manager for host in jamalslurm01 jamalslurm02 jamalslurm03; do ssh $host << EOF iptables -L systemctl restart docker EOF done
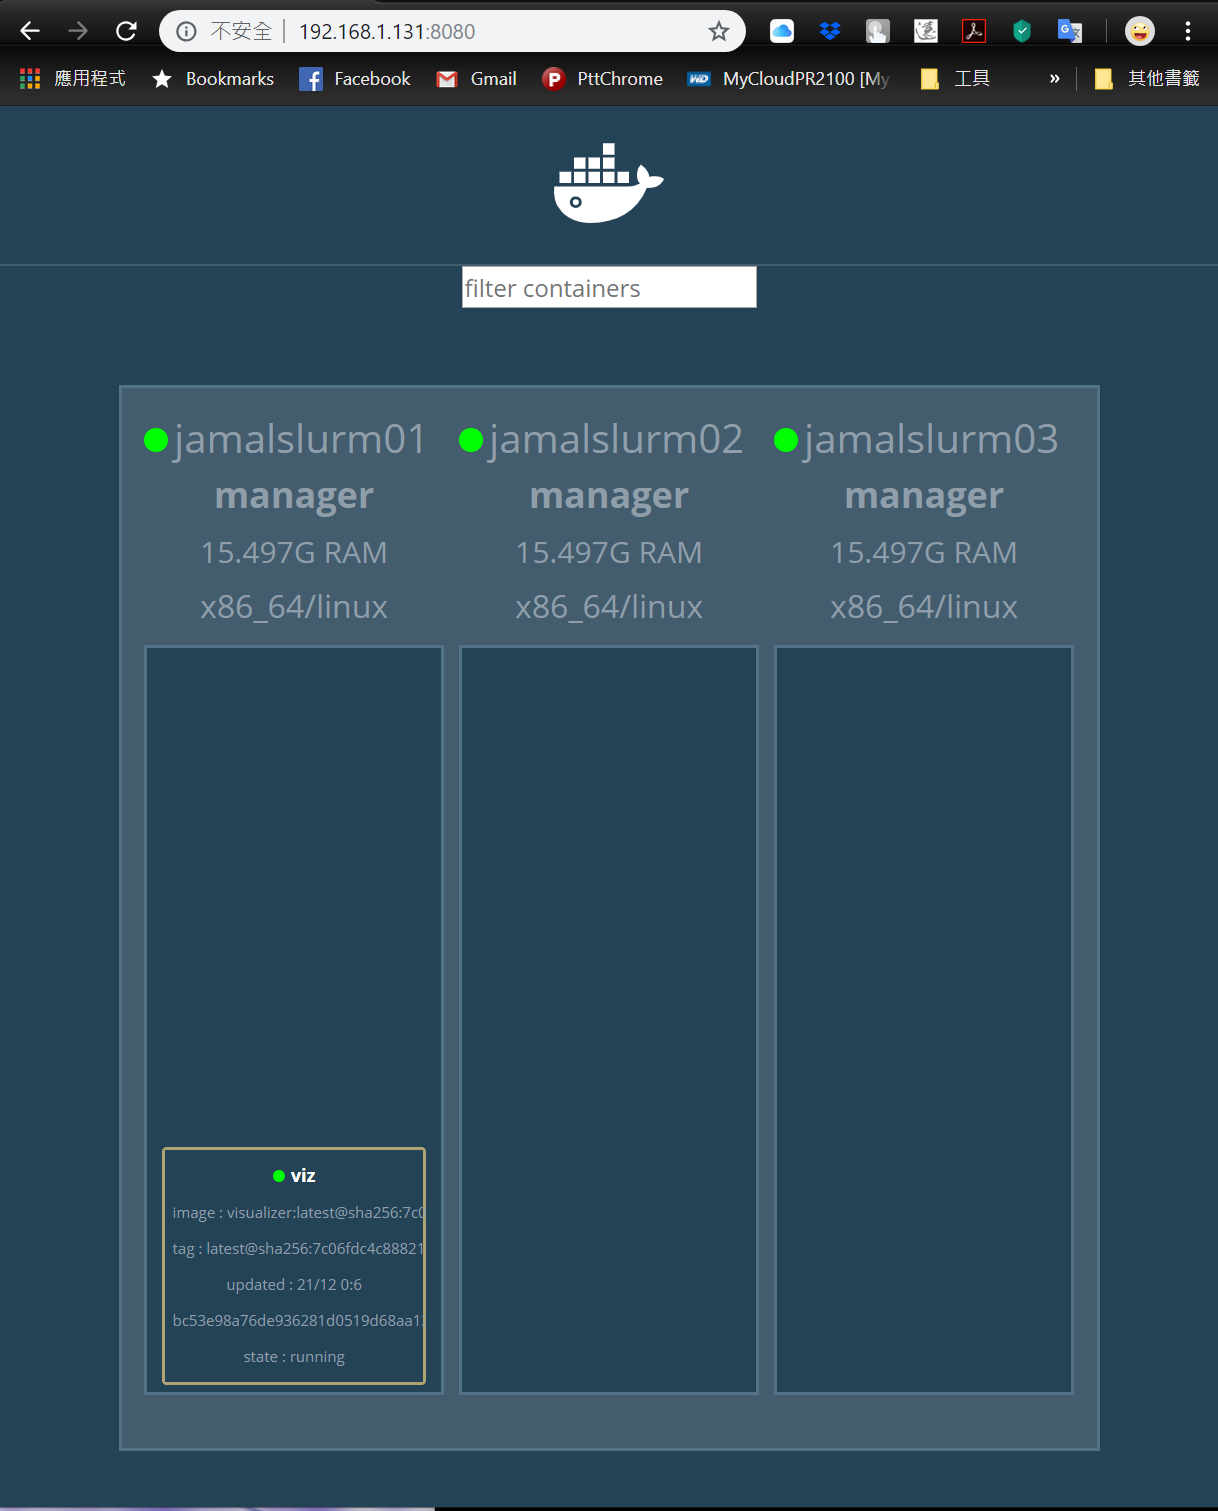
安裝swarm visualizer:
1
2
3
4
5
docker service create --name=viz \ --publish=8080:8080/tcp \ --constraint=node.role==manager \ --mount=type =bind ,src=/var/run/docker.sock,dst=/var/run/docker.sock \ dockersamples/visualizer
安裝之後連上該host的8080就可以看到下圖:
安裝nfs用來share swarm的volumes
1 2 3 4 5 6 7 8 9 10 11 12 13 14 15 16 17 18 19 20 21 22 23 24 25 26 27 28 29 30 31 32 33 34 35 36 37 38 39 40 for host in jamalslurm01 jamalslurm02 jamalslurm03; do ssh $host << EOF yum -y install nfs-utils systemctl start rpcbind systemctl enable rpcbind EOF done mkdir -p /data/nfs_vol touch /data/nfs_vol/test.txt tee /etc/exports << EOF /data/nfs_vol 192.168.1.0/24(rw,sync,no_root_squash) EOF systemctl enable nfs systemctl start nfs for host in jamalslurm02 jamalslurm03; do ssh $host << EOF yum -y install autofs tee -a /etc/auto.master << EOF2 /mnt /etc/auto.mnt EOF2 tee /etc/auto.mnt << EOF2 nfs_vol -rw,bg ,soft,intr,rsize=8192,wsize=8192 jamalslurm01:/data/nfs_vol EOF2 systemctl enable autofs systemctl start autofs EOF done
測試一下nfs沒問題之後,就可以進主菜SLURM了
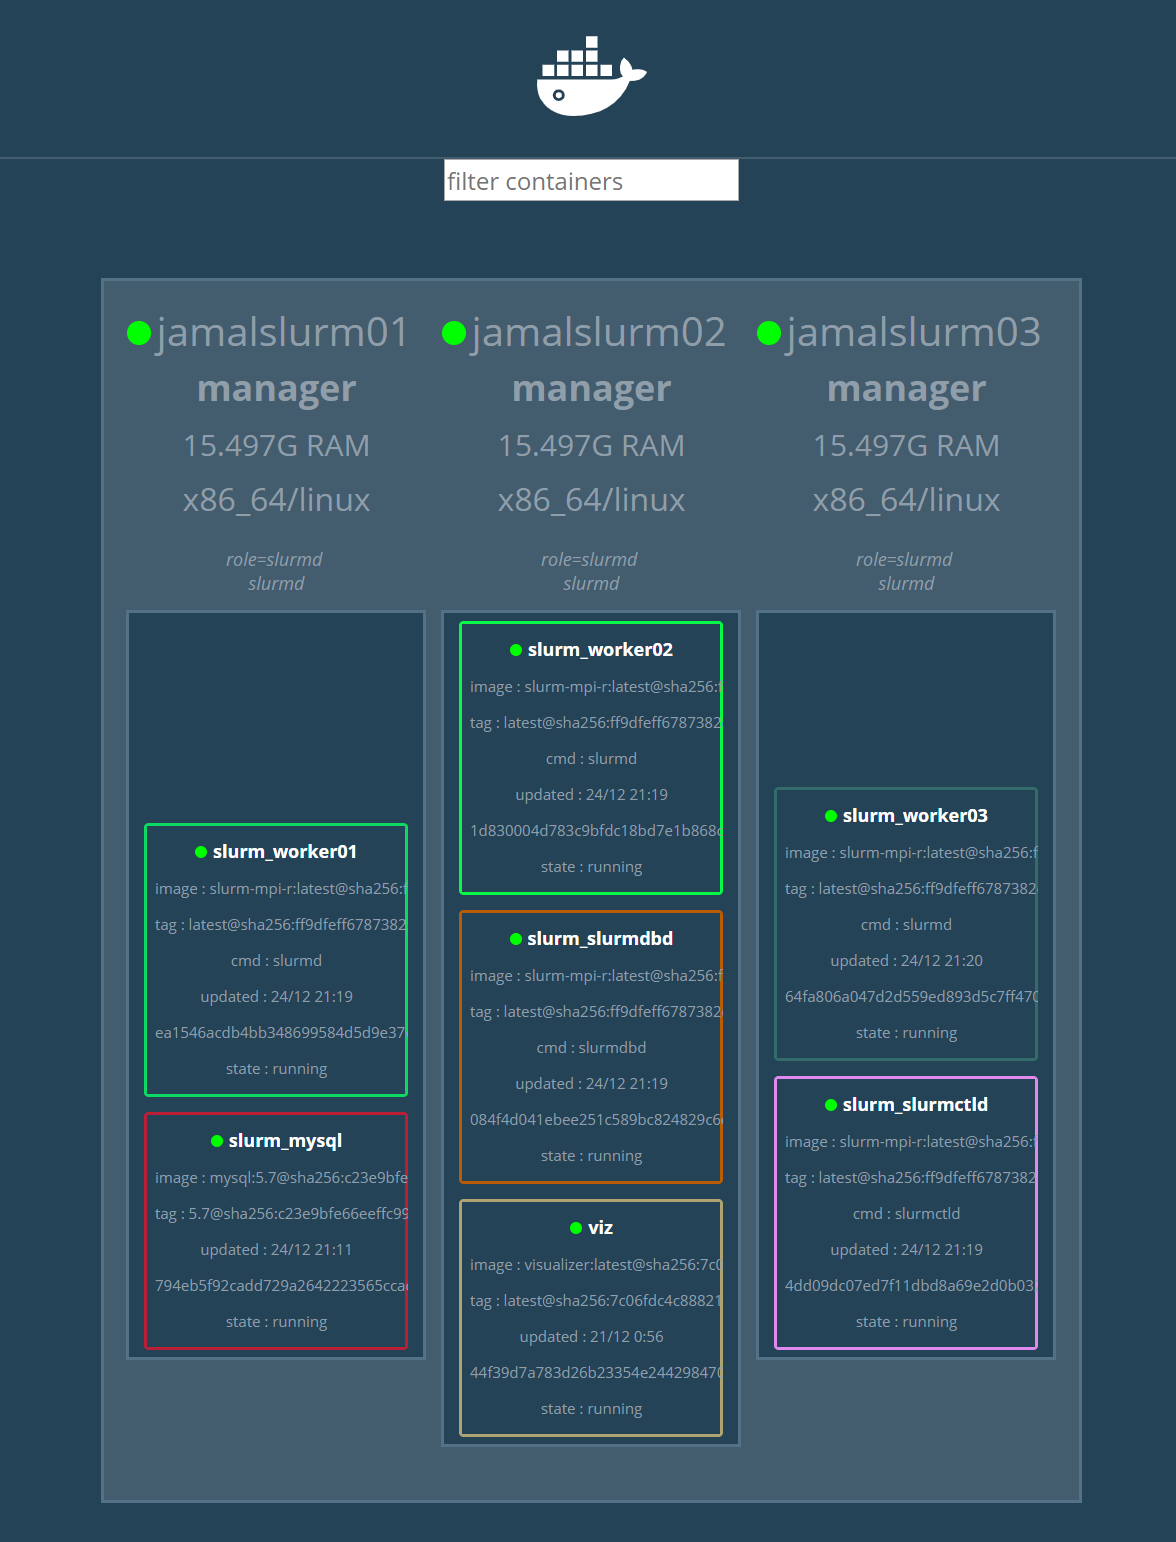
1 2 3 4 5 6 7 8 9 10 11 12 13 14 15 16 17 18 19 20 21 22 23 24 25 26 27 28 29 30 31 32 33 34 35 36 37 38 39 40 mkdir /data/nfs_vol/slurm_spool mkdir /data/nfs_vol/slurm_conf mkdir /data/nfs_vol/data mkdir /data/nfs_vol/mysql git clone https://github.com/ChingChuan-Chen/slurm-mpi-r.git cd slurm-mpi-rfor host in jamalslurm01 jamalslurm02 jamalslurm03; do docker node update --label-add role=slurmd $host done ./generate-slurm-config.sh slurmd worker normal rm -f /data/nfs_vol/slurm_conf/*.conf cp slurm-confs/*.conf /data/nfs_vol/slurm_conf docker pull mysql:5.7 docker pull jamal0230/slurm-mpi-r:latest docker save jamal0230/mysql:5.7 > /data/nfs_vol/mysql-5.7.tar docker save jamal0230/slurm-mpi-r:latest > /data/nfs_vol/slurm-mpi-r-latest.tar for host in jamalslurm02 jamalslurm03; do ssh $host << EOF docker load < /mnt/nfs_vol/mysql-5.7.tar docker load < /mnt/nfs_vol/slurm-mpi-r-latest.tar EOF done docker stack deploy --with-registry-auth slurm --compose-file=docker-compose.yml host=$(docker service ps -f 'name=slurm' slurm_slurmctld | awk '{print $4}' | head -2 | tail -1) scp register_cluster.sh $host :~/ ssh $host ~/register_cluster.sh
用visualizer查看佈署情況:
最後利用這個指令就可以進去slurmctld的container:
1
2
3
4
# get host of slurmctld host=$(docker service ps -f 'name=slurm' slurm_slurmctld | awk '{print $4}' | tail -1) ssh $host docker exec -it slurm_slurmctld.1.$(docker service ps -f 'name=slurm' slurm_slurmctld -q --no-trunc | head -n1) /bin/bash
然後執行sinfo就可以看到下圖了
PS: 後來測試Multi-node job都失敗,原因目前找不到…